


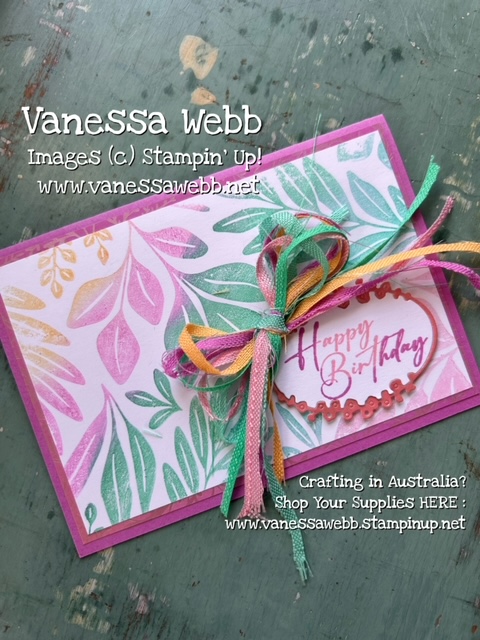
At a recent class, we learned how to create several different rainbow effects using a variety of techniques.
This card was created using the NEW Leaf Collection Background stamp. We applied the Classic Ink InColors to different sections of the stamp by using Stampin’ Daubers in a dabbing motion. HINT : You’ll want to start off with the palest colour and then apply the next darkest one each time with a separate dauber (specific for that colour) so that you don’t get any cross contamination with your lighter ink colours.
Because it takes a little longer to apply the ink to a stamp this way, you’ll also need to “huff” or breath over your Background stamp to re-moisten it before you stamp the image onto your Basic White Cardstock.
To create my bow, I cut along each of the InColor ribbons to create a thinner length and then tied all 5 into a bow together before adhering them to my project using a couple Mini Glue Dots.
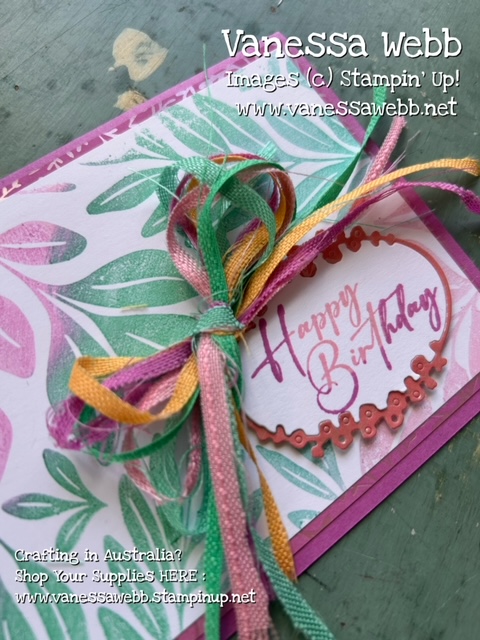
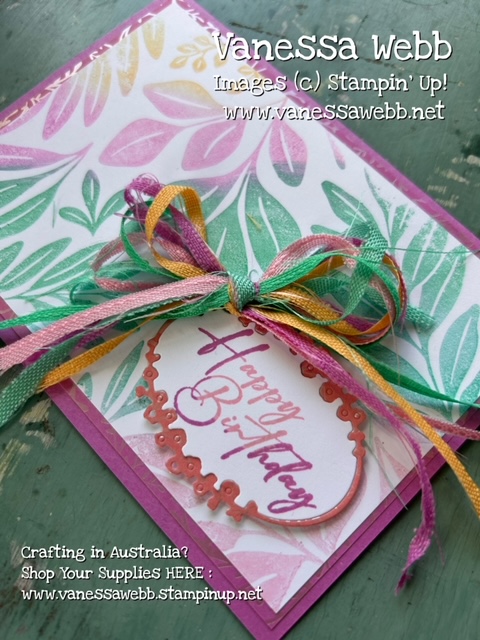
To continue the rainbow theme, I inked up my greeting stamp on the Pretty in Pink inkpad before rolling the edges of the stamp in Petunia Pop ink before stamping it onto the Basic White center of the die cut.
HINT : You will need to die cut TWO of these shapes from the Unbounded Love Dies, one from the Thoughtful Designs Specialty Paper and one from Basic White cardstock.
Here’s what I’ve used to create my card above (all items are available in my Online Store 24/7) :
Product List ") |  |  |  |
 |  |  |  |
 |  |  | |
 |  |  |
 Specialty Designer Series Paper")
 Bordered Ribbon")
 Bordered Ribbon")
 Bordered Ribbon")
 Bordered Ribbon")
 Bordered Ribbon")
Thanks for stopping by and happy creating!
 by
by