As promised here are al the details for my WOW presentation at last Saturday’s MDS Tour in Sydney.
I have always loveed the look of phtos printed to canvas…..but not necessarily the price tag!
So I went looking ans found a simple and cost effective way to get your photos onto a stretched canvas andsome hints and tips to acieving that professional distressed /textured look to your canvas creations 🙂
Here’s what you’ll need :
a stretched or unstretched canvas (this technique works really well on Stampin’ Up!’s Canvas Creations)
Gel Medium (I used Golden brand from my local art supplier)
Sponge Applicator
Old credit card
Lazer Jet Printer
copy paper
Stampin’ Up!’s My Digital Studio to enhance your photo and add the journalling
Step 1
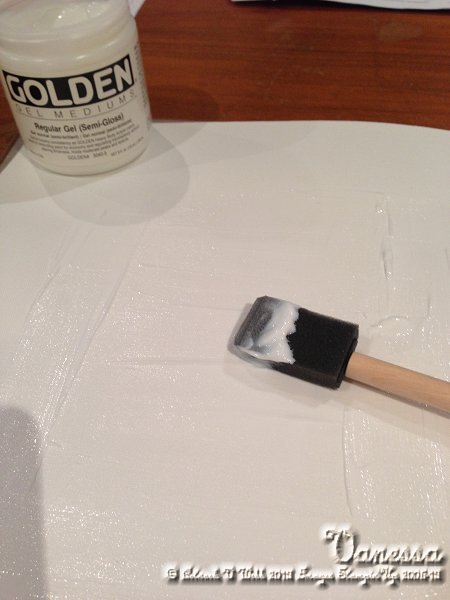
Cover entire surface of the canvas with a thick layer of the Gel Medium
Step 2
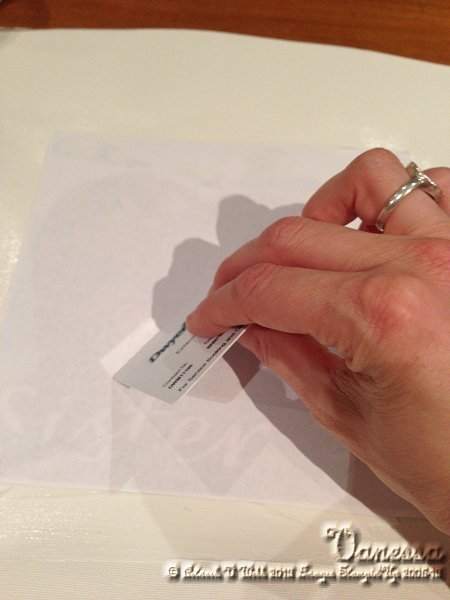
Print out photo and place photo side down onto your canvas. Smooth out bubbles and wrinkles with old Credit Card. TIP – if your photo has letters or numbers in it then you’ll need to reverse the image before printing it out so that they appear the right way around!
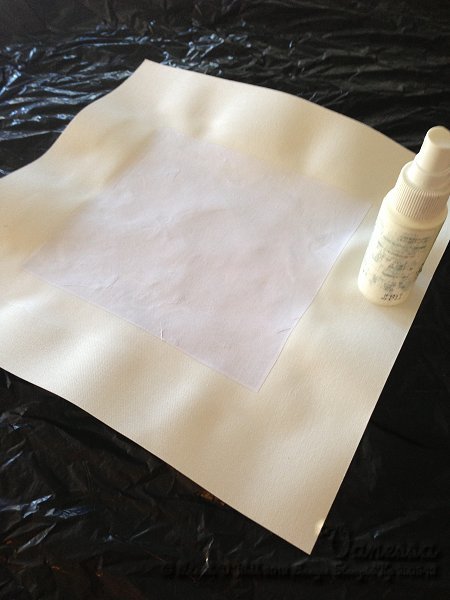
Step 3
Leave to dry over night and then spray all over with a good amount of water.
Step 4
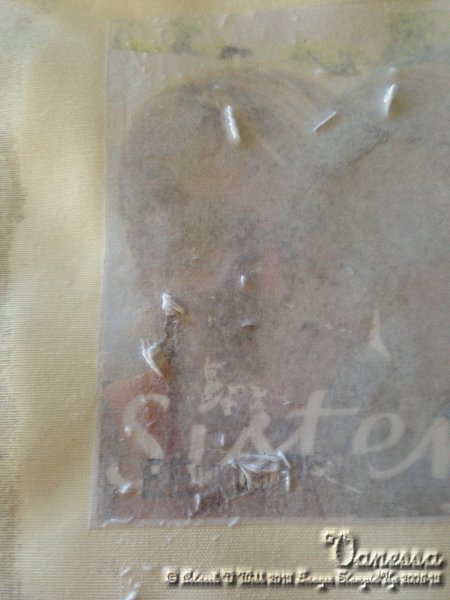
Start rubbing off the surface paper to expose the image (which will remain intact once the paper has been rubbed away entirely)
Step 5
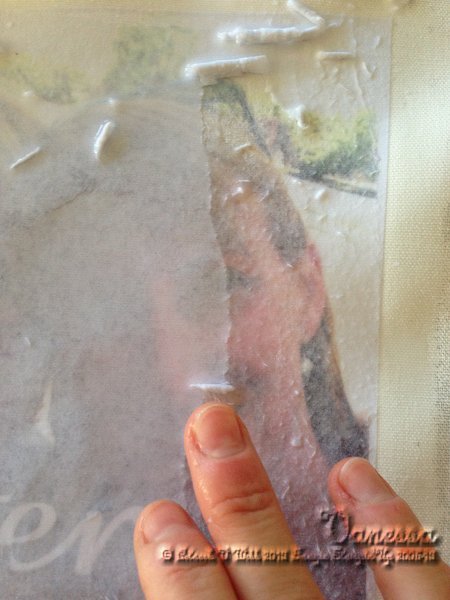
You can use your fingers or a damp tea-towel to reomve the paper (this can take several applications of water spray). I felt like I was giving us both an exfoliation treatment LOL!
Step 6

Keep rubbing until all the milky residue has disappeared and you are left with the image. It is normal for certain small parts of the image are rubbed off with the paper – be gentle and patient!
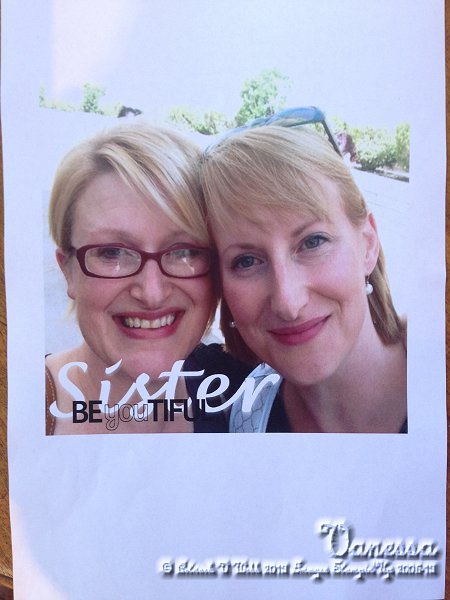
Here is the finished product. If you do not use a canvas that has already been stretched onto a frame you can use your unstratched canvas to frame it or to go onto a scrap page with other embellishments.
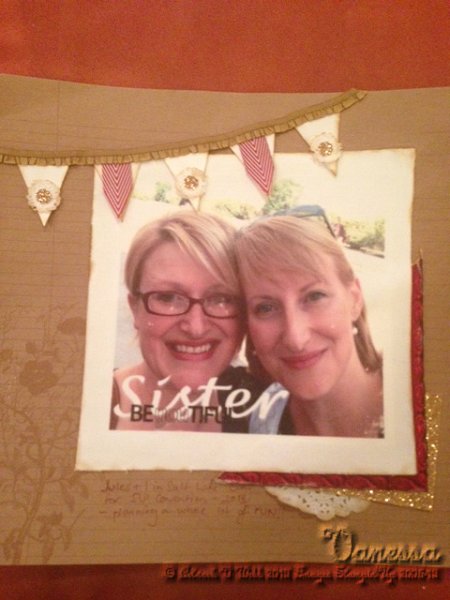
Here is my 12×12 layout using this digital photo creation :
I’ll be transferring some more MDS creations onto canvas and sharing those with you soon!


 by
by
2 thoughts on “My MDS Tour WOW – transferring your photos to canvas!”
Thanks for these instructions, Ness! I think it will be a while before I try this, but who knows? Now I can find how to do it easily. Your samples are wonderful! Thanks for sharing. 🙂
Thanks Vanessa for the tutorial, I am off to buy supplies. Thanks for sharing this great WOW technique. Must say that the canvas looks even better in real life. Looking forward to your other projects.