


SMALL BUT MIGHTY: HELPFUL USER TIPS FOR THE MINI STAMPIN’ CUT & EMBOSS MACHINE
Some of you are asking why the Mini Stampin’ Cut & Emboss Machine is so tight. Fair question. Truth is, this makes the machine better. We know this is a bold statement, but we’re going to say it anyway: this is the strongest mini die-cutting/embossing machine on the market. This has everything to do with the tight fit at the opening. With it, you can count on cleaner cuts and deeper embossing.
Of course, we realise the tight design of the Mini Stampin’ Cut & Emboss Machine can create a slight learning curve when it comes to feeding the plates through, so we’ve compiled a list of helpful tips to try.
TIP 1: Think “E”
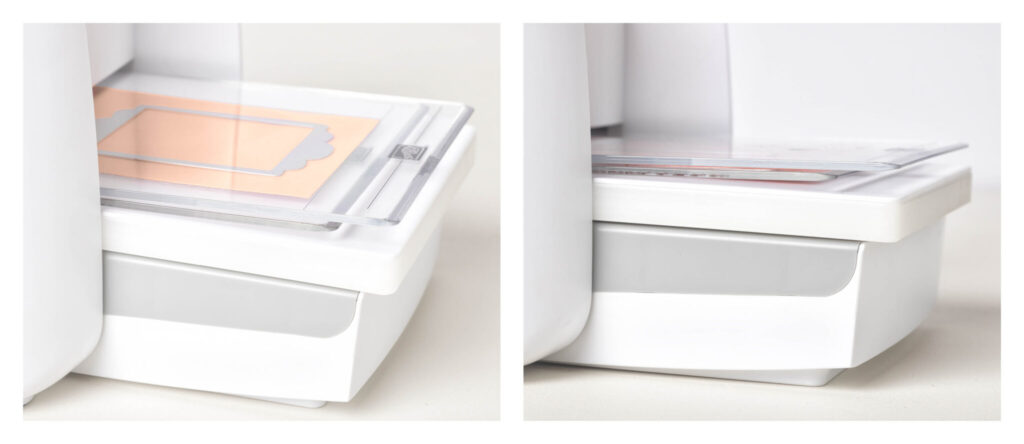
When positioning your cutting plates and folders on the machine’s platform, create the shape of a capital letter E, with the top and bottom plates extending longer than the middle section (on the side that’s feeding into the machine).
See a picture of the E placement in the images above!
Why E? The uneven placement allows the top and bottom plates to bend in slightly, giving the machine a better opportunity to grip the plates. The ends of the plates are beveled to help with the gripping and staggering your plates will allow for even more success when running your sandwich through the machine. When placing your dies or embossing folders in your sandwich, make sure to place them between the two beveled ends. Giving the bevel room to work will help ensure success. Your embossing folders are intentionally created to be slightly shorter than the plates, all for this very reason, but a little extra wiggle room is never a bad idea.
TIP 2: Stand n’ Crank
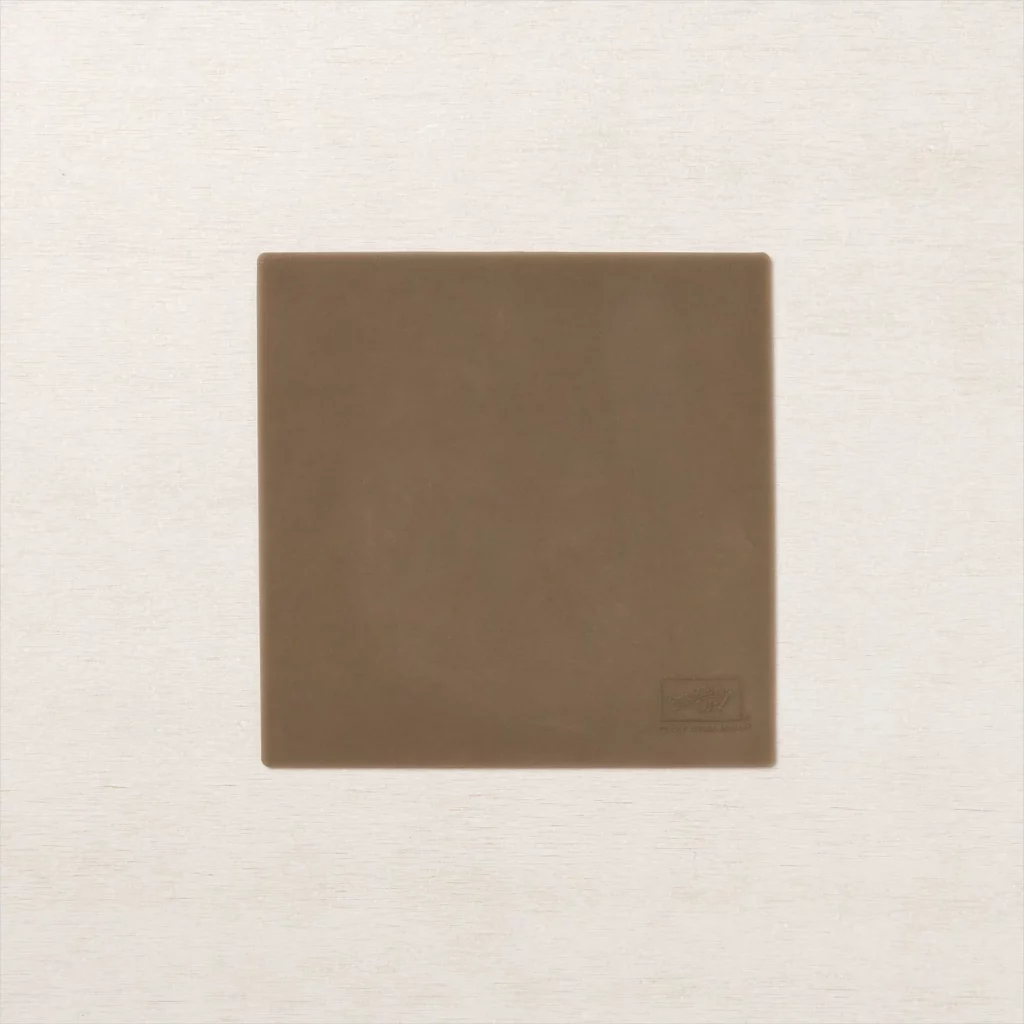
The lighter weight of the Mini Stampin’ Cut & Emboss Machine can cause it to feel less stable/anchored than the larger Stampin’ Cut & Emboss Machine. If you’re experiencing machine movement with use, consider standing up to use the tool. The added leverage created in this position can make all the difference. Also, make sure you’ve placed your machine somewhere that will allow the feet to grip the surface during use. You can try using the machine placed on top of the Silicone Craft Sheet :
TIP 3: Plate Play
If you find your plate placement isn’t cooperating, even with the “E” in effect, your machine simply has a really tight fit and this isn’t bad! But, if you’re struggling, you can try switching your base plate from the suggested Plate 1 to Plate 3. Users have reported that this slightest decrease in height and subsequent pressure can be just enough to make a difference. Making this exchange will not void the warranty, but there is a chance it could impact the quality of your cuts. Things to consider as you explore options and approaches.
FINAL THOUGHT
It’s worth mentioning that the tips outlined here also apply to the regular Stampin’ Cut & Emboss Machine, making this a good message to both save AND share with your customers and team. For more information on the Mini Stampin’ Cut & Emboss Machine specifically, visit our website and check out the quick flick below :
And………. Don’t forget that you can one on these babies in the great joining deal that’s happening at the moment! Either get the Standard Starter Kit for the same price of $169 with $80 more product in it OR choose from either the original White Mini Machine or the NEW Boho Blue Mini Machine to add to your Starter Kit and SAVE, getting a whopping $425 worth of products for just $210! :
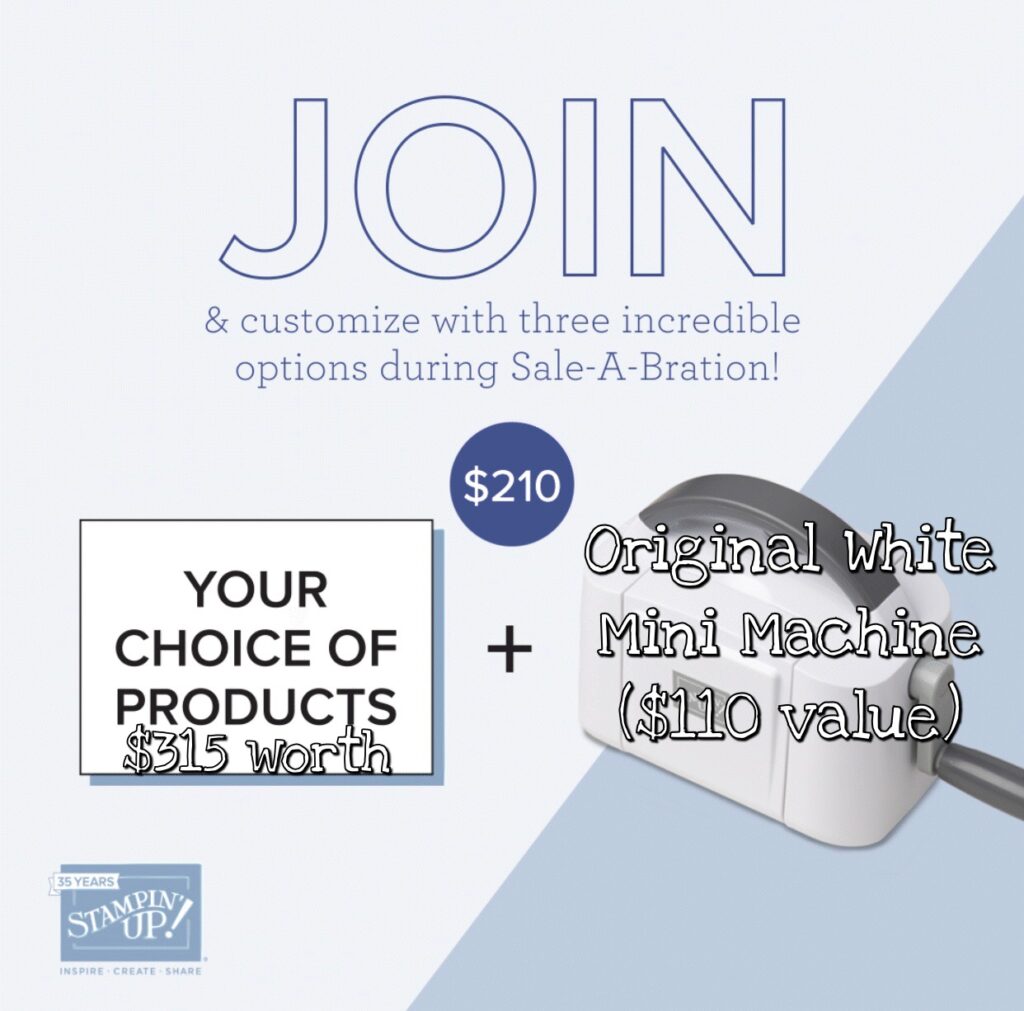

Check out this great deal – ending February 28th! – HERE or contact me on 0407 497 540 or email stampin@vanessawebb.net with any questions you may have!
Happy creating!
 by
by